Place Word's cursor where you want the barcode.
Click the OnMerge Barcodes icon in Word's Mailings or Insert ribbon. |
 |
|
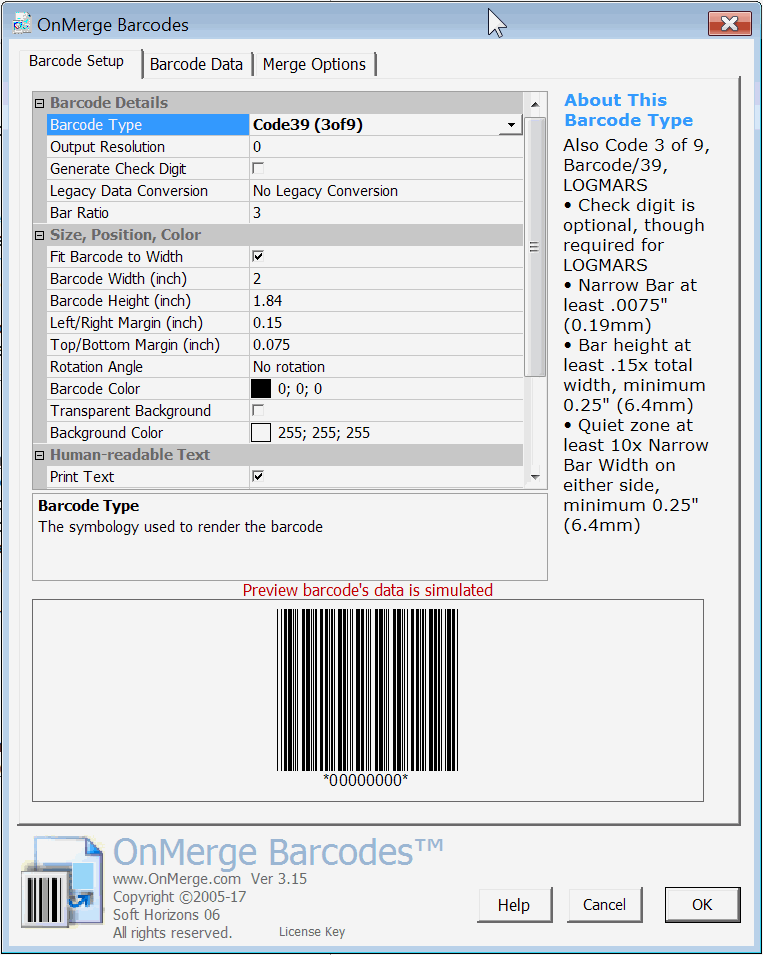
The OnMerge Barcodes dialog box will appear.
Code 39 is the default barcode. Notice that OnMerge Barcodes shows key reference information for the selected barcode type in the right column.
It may look like a lot, but you can ignore almost all of this unless your application is very exacting.
It's good to know those all the options are there if you ever need them. |
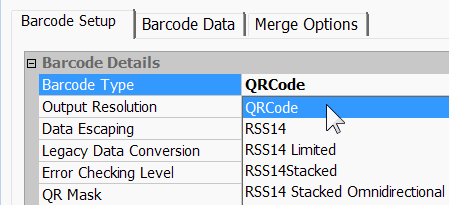
Code 39 is the default, but let's try making a QR Code.
Pick QR Code from the Barcode Type dropdown list. You can safely ignore the other options for now. |
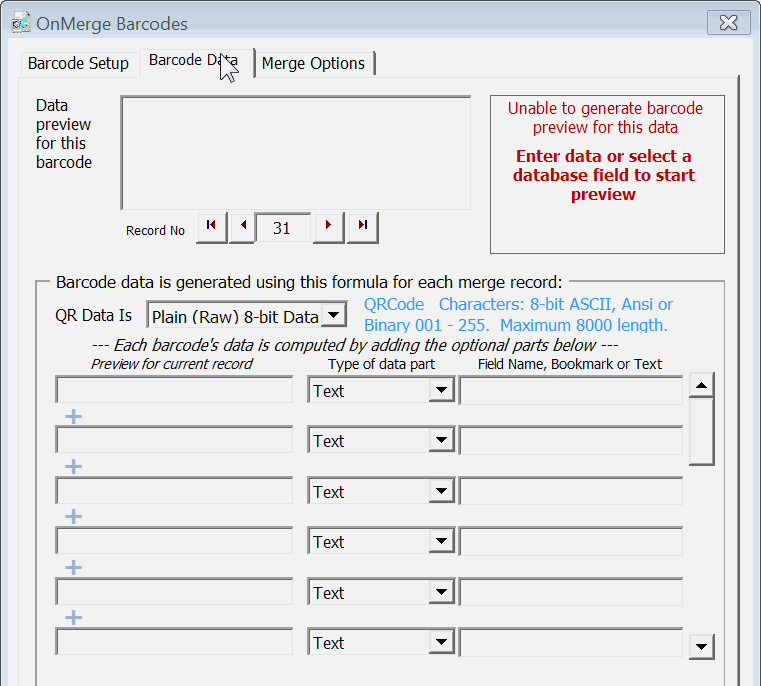
Let's get some data.
Click on the Barcode Data tab.
Notice the blue text that reminds you what characters can be used in this type of barcode. QR Code happens to be quite permissive, but most other types of barcodes are severely restricted so this reminder is helpful. |
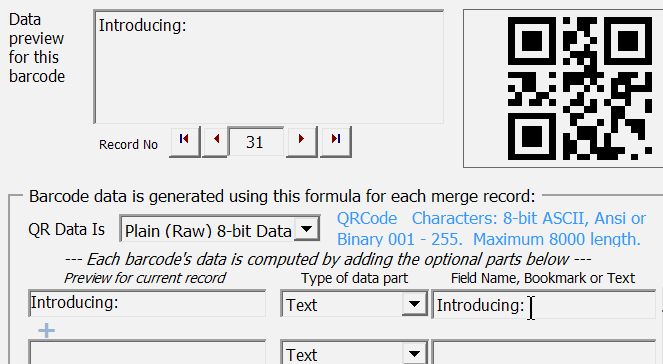
Let's just type some text onto the first data line (bottom, right of the screenshot) to see what happens.
Notice that a preview of the QR code containing "Introducing: " shows in the top, right as type. |
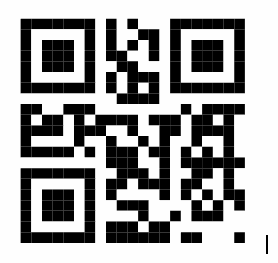
Press OK to insert the finished barcode into your document at the cursor. By default it's about 2" x 2". |
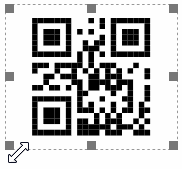
To resize the barcode
- Click on an OnMerge Barcode to reveal small selection rectangles at each corner.
- Drag the corners to set the width and height of the overall barcode.
QR Codes always have equal width and height. You can adjust most other barcodes' width & height independently. |
As usual for Word mail merges, make sure a data source is loaded (Mailings, Select Recipients). |
Click on the barcode from the previous example to select it.
Click the OnMerge Barcodes icon in Word's Mailings ribbon to edit it. |
 |
|
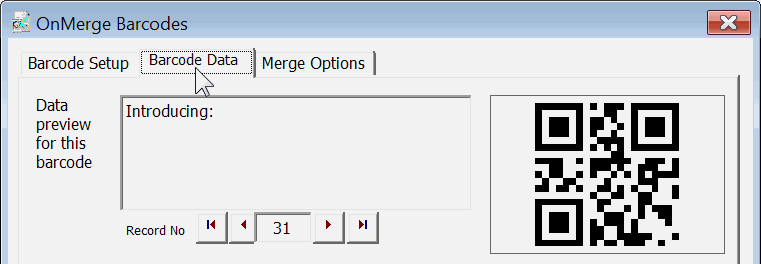
The OnMerge Barcodes dialog box will appear.
Select the Barcode Data tab. |
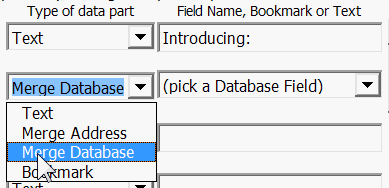
Let's look up a person's name in the database and stick it in after "Introducing: ".
On the second data line, pick Merge Database from the list under Type. |

Then pick a database field from the dropdown list to the right of that.
You can see from the Data preview text at the top, left that OnMerge Barcodes combined the first data line ("Introducing: ") with the second one ("John" which is the value of the First field in record 31 of the database). The QR code to the right contains all that.
We could go on combining up to 20 pieces of text and database fields into a barcode, but that's enough for this quick example. |

Press OK to insert the finished barcode into your document at the cursor. It'll retain the size you set previously. |
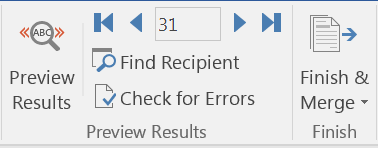 Barcodes will update as you use Word's Preview Results controls to scroll through database records. Barcodes will update as you use Word's Preview Results controls to scroll through database records.
Finish & Merge as usual. |
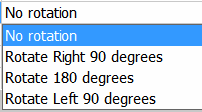
Rotation: double-click an OnMerge Barcode to edit it; select the Merge Options tab.
Choose a rotation from the Rotation Angle menu.
|
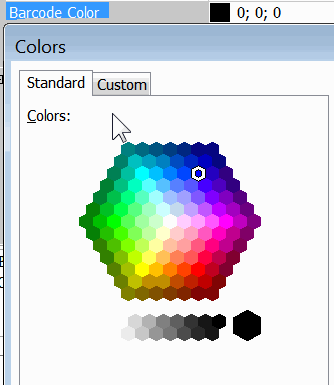
Color: double-click an OnMerge Barcode to edit it; select the Merge Options tab.
Choose a color from the Barcode Color menu.
|
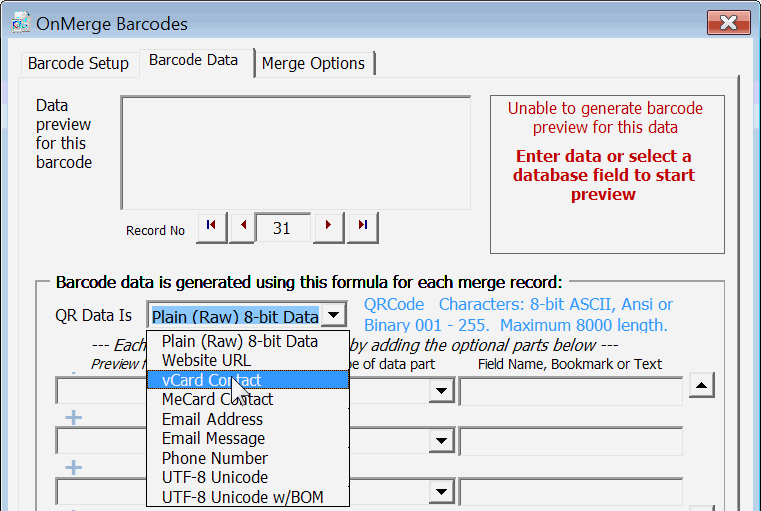
vCard Contact Information must be specially formatted before it's encoded into the QR Code. OnMerge Barcodes can do that for you automatically.
Click the OnMerge Barcodes icon in Word's Mailings ribbon to access its dialog box, then select the Barcode Data tab.
Select vCard Contact from the QR Data Is dropdown list. |
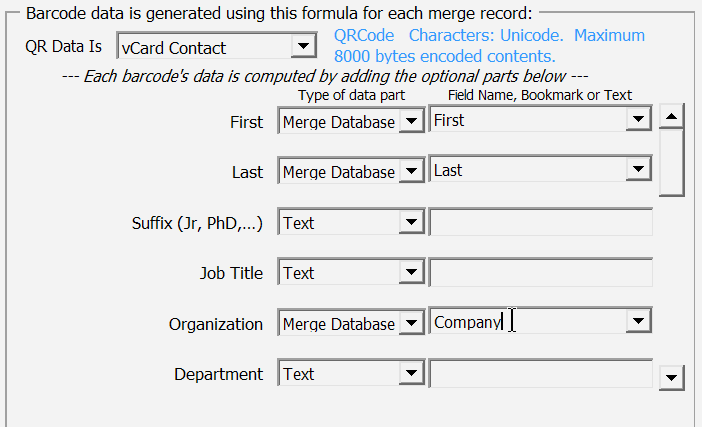
The data input fields change to the specific fields allowed in a vCard. There are 20 fields in all; the list shown scrolls down.
Unless you're just creating one vCard, you'll typically set up the data fields to access Merge Database fields. |

In the Data Preview text on the left you can see how OnMerge Barcodes formats the data into the special vCard format before making it into a QR Code. |
Other Options, too many to discuss in this brief overview, are available in the OnMerge Barcodes menus. Virtually all professionsl-level options are available.
To simplify choosing options, the ones that aren't relevant the the current barcode type are hidden.
If you'd like to know about an option not shown here, please follow this link, or this link for truly technical details.
Download Free Tryout Version here. |


 Barcodes will update as you use Word's Preview Results controls to scroll through database records.


